|
Step 6
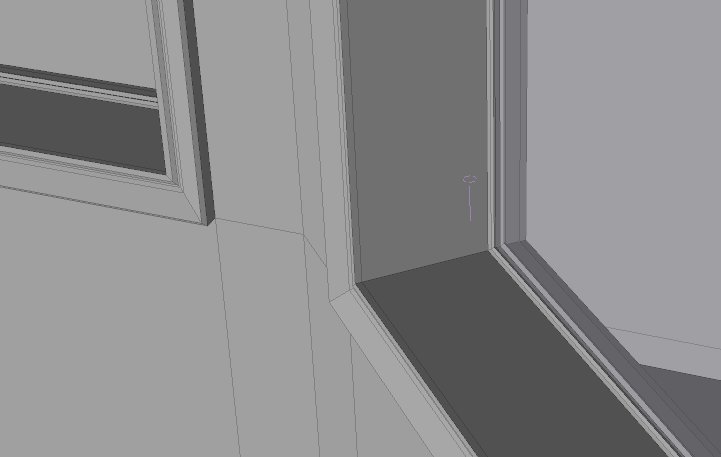
Next, the windows need to have some trim provided so I selected the poly loop in one window and recorded a macro of bevelling out one window casing. In the macro, I set part names for the trim and then as well for the glass panes so that it can be surfaced later. |
|
Step 7
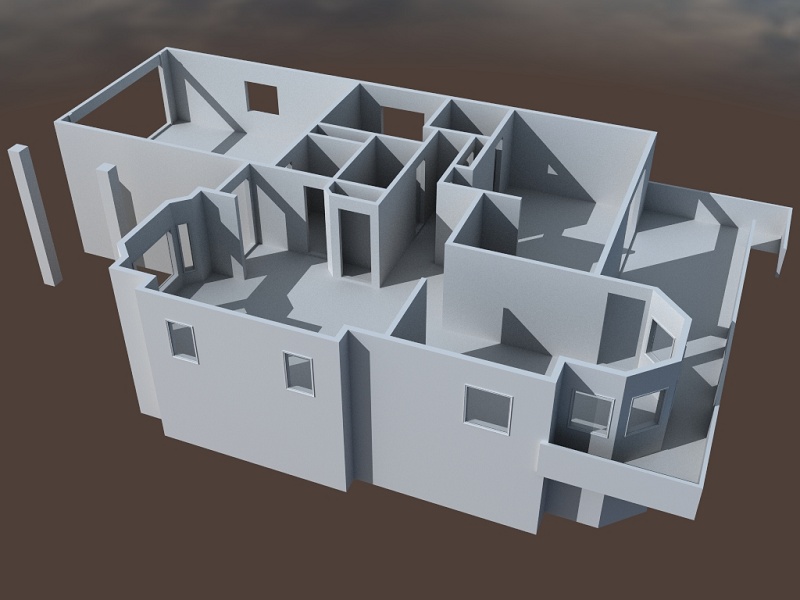
I had to shift the panes and the thin trim against the glass for each window as well as shown above since I'm not sure how that could berecorded int he macro, since I had to change the selected polys. But, it was simple to do one each window had its trim.
Next, each of the windows had their polys selected and the macro was executed again to form the trim boards, glass and materials just like that in the recorded macro. |
|
Step 8
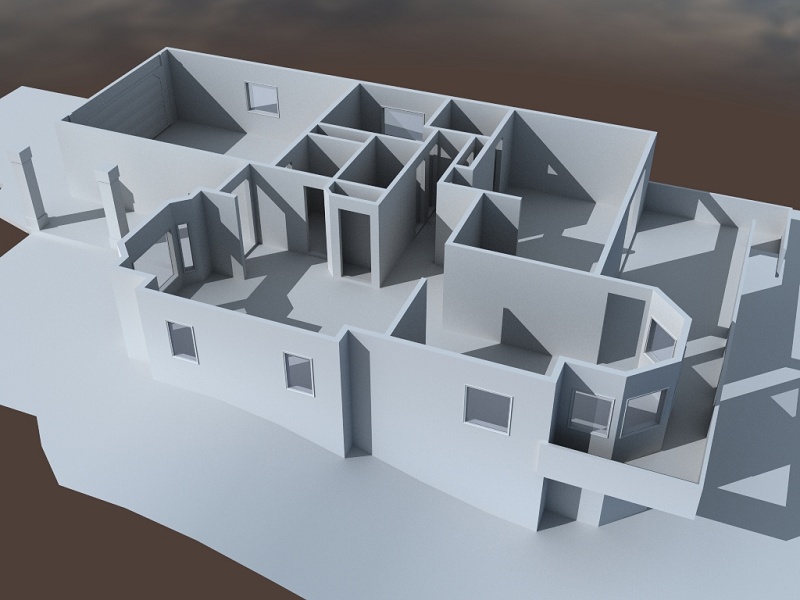
So, then I wanted a little detail around the home for the landscape so here is how it was coming along, with that added to the render. You'll notice also the garage door has been added here as well. |
|
Step 9
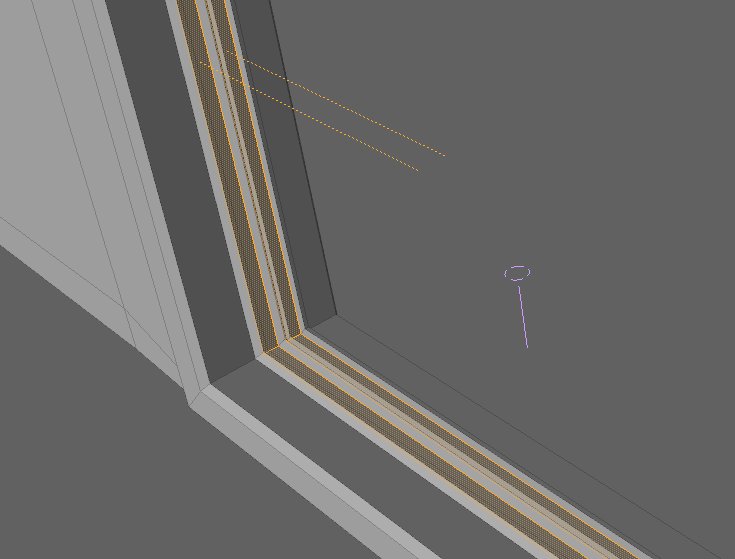
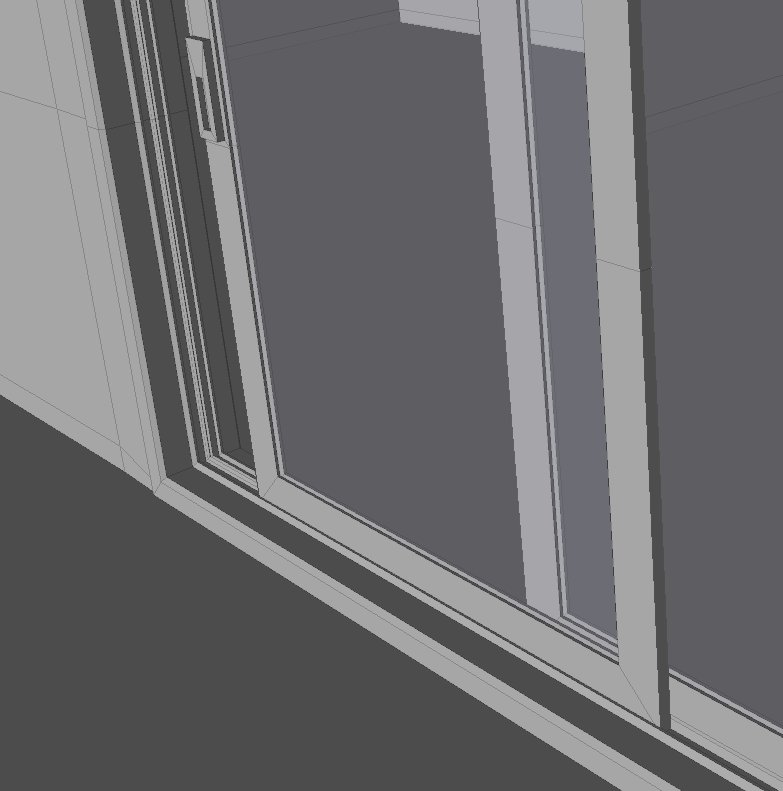
Next, I wanted to finish all the doorways. I perform the main door and deck door by using the same bevelling technique as in the steps and video above. The patio was done similarly but with a sliding door, I wanted to ensure it would open and still look realistic with the slots for the door and glass panes. Here are the pics as it was built.
Two rails for the sliding doors to fit into. Added the glass doors themselves as well by bevelling them into place with the same polys copied from the door trim. I'll position these using morph maps so its just a slider to open and close them, that way its in the object, not the render scene for future setup. |
 |
Step 10
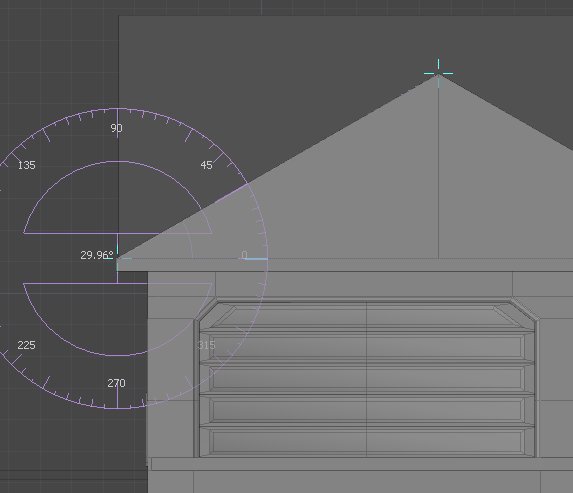
The roofline was next on the list and was a lot harder than I thought it would be. I would now recommend that some of the alignment tools be used from vertexmonkey.com for this as it would make aligned the faces/edges way simpler. The process I used was a little more manual than that and here was my approach.
|
|


